Amazon Gel-X Nail Kit + Supplies | A Review
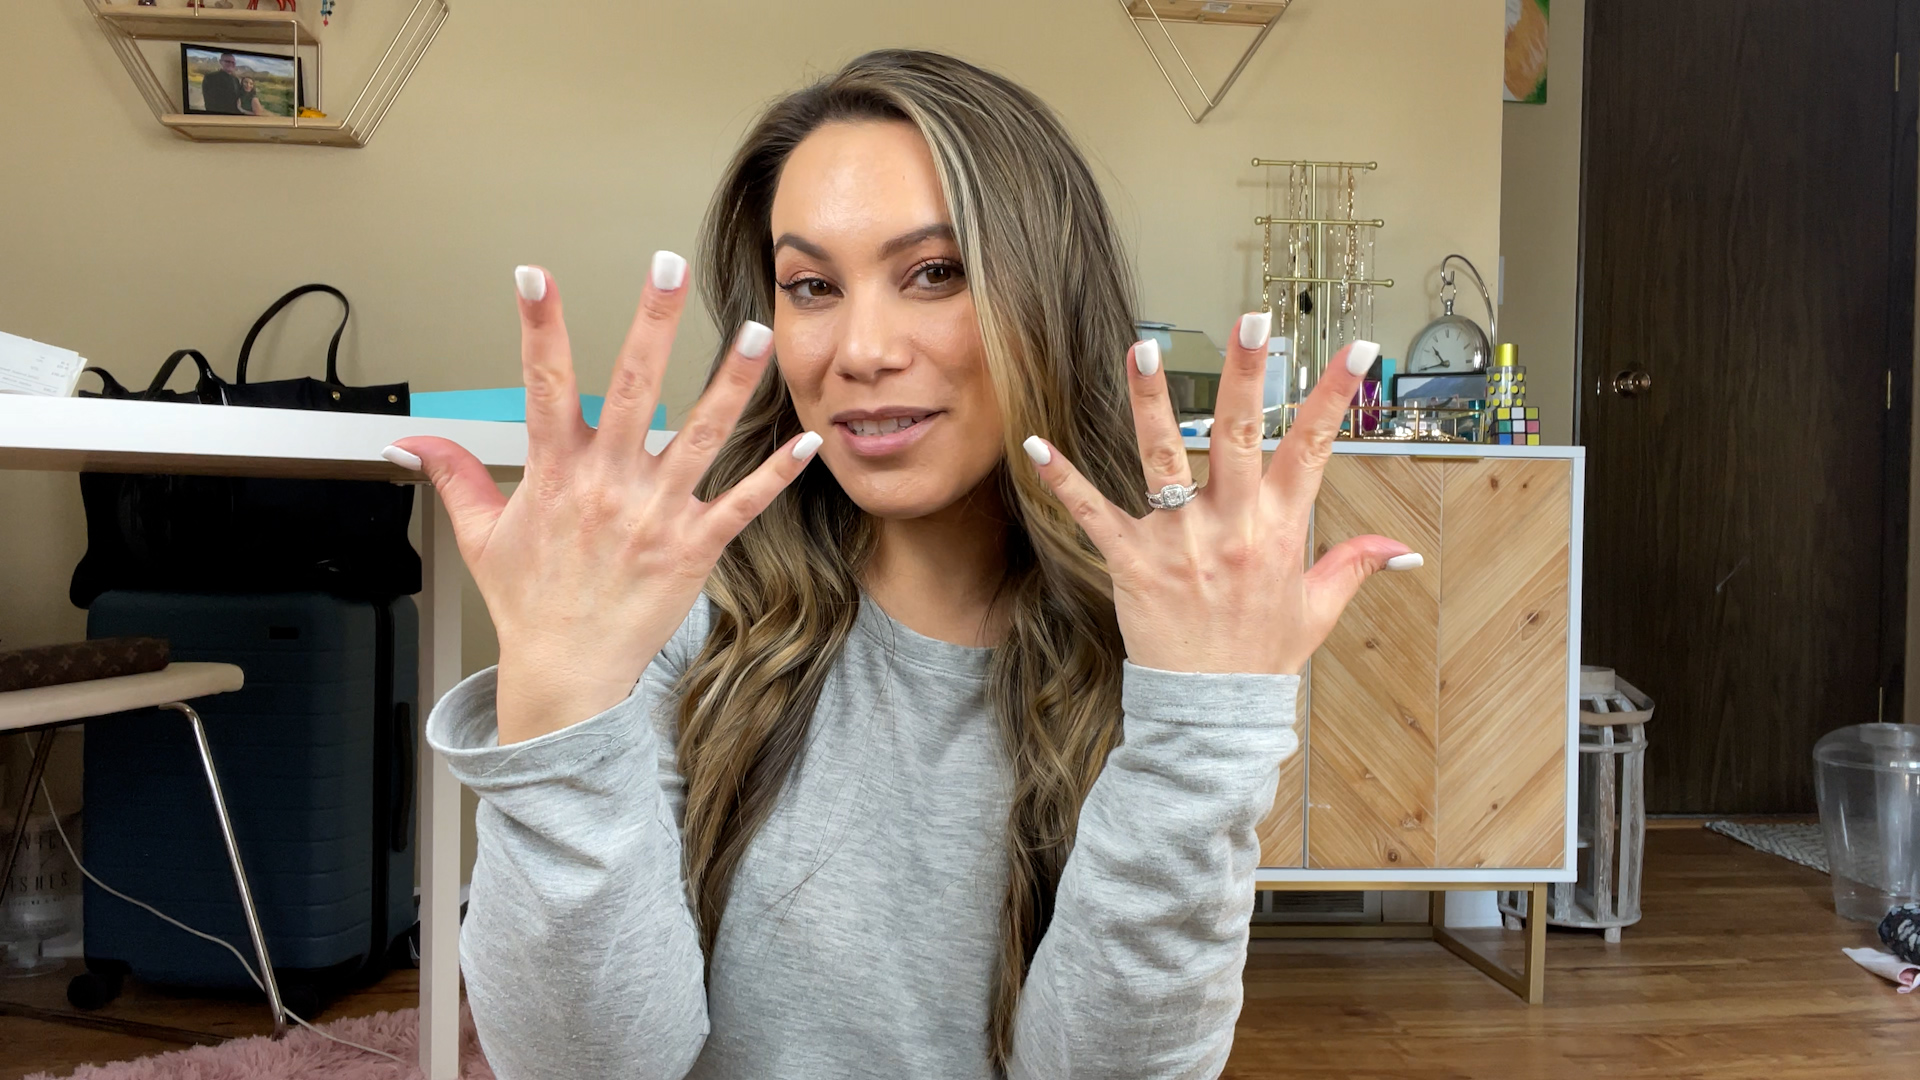
Painted nails are some of my favorite accessories to wear (nails can count as accessories, right?!). They can add a simple yet elegant touch to any look and of course, they can compliment any arm candy, from jewelry, rings, and watches!
I used to paint my nails ALL the time as a kid, and I continued to do so as a teenager and adult. Of course, I started with regular nail polish, tried acrylics once, moved to gel, and then really committed to dip powder – my favorite!
After years of getting dip powder on my nails (I was waiting on a proposal from my now-husband!), my nails have definitely taken a hit – they’re soft, brittle, and really don’t do well naked. Plus, the constant nail salon visit were also taking a hit on my wallet!
I started hearing about gel-x nails on Instagram and TikTok, and started doing some research on why it’s all the range and if it’s actually better on your nails.
After reading up on the trend, I decided to get my own nail kit and start doing my nails at home. I’m not a nail expert, and I’m not even good at it – I would say I’m average at doing my nails! But I’m hoping this blog post can help someone out. I see a ton of videos of gel-x tutorials on TikTok, and they all look PERFECT. So, my tips are a mix of everything I’ve seen and read up on from TikTok, with some of my own techniques I picked up along the way. I also feel like my YouTube video explaining my kit and my process can be confusing, which is why I’m writing up a set of simple step-by-step instructions. Everything I purchased for my kit came from Amazon – I will link everything down below. I used an old acrylic drawer I originally stored my makeup in, but I linked a few similar options as well.
Gel-x nail steps
1. Clear and clean nails from all polish.
2. Apply the daily nail keratin treatment – soak it in for a few min and massage it in.
3. Find the best-fitting gel extension for each nail and set aside. Buff each extension if not pre-buffed.
4. Apply the nail dehydrator on each nail (I like to fully prep one hand at a time before painting).
5. Apply a thin layer of nail glue over each and cure with full nail lamp.
6. Apply nail glue on gel extension, place on your nail (not flat down, but at an angle starting at the cuticle), and flash cure. Fully cure with larger nail lamp once all gel extensions are on.
7. Trim your nails with the gel-extension trimmer to the length you want and file edges down. Buff all nails after. This will help the gel polish adhere to the gel extensions.
8. Begin painting nails with gel polish and cure with larger nail lamp. I typically do two coats.
9. Apply gel top coat, cure, and you’re done! Unless you want to add the chrome effect – use the sponge that comes with the chrome powder kit, and apply another top coat, and cure.
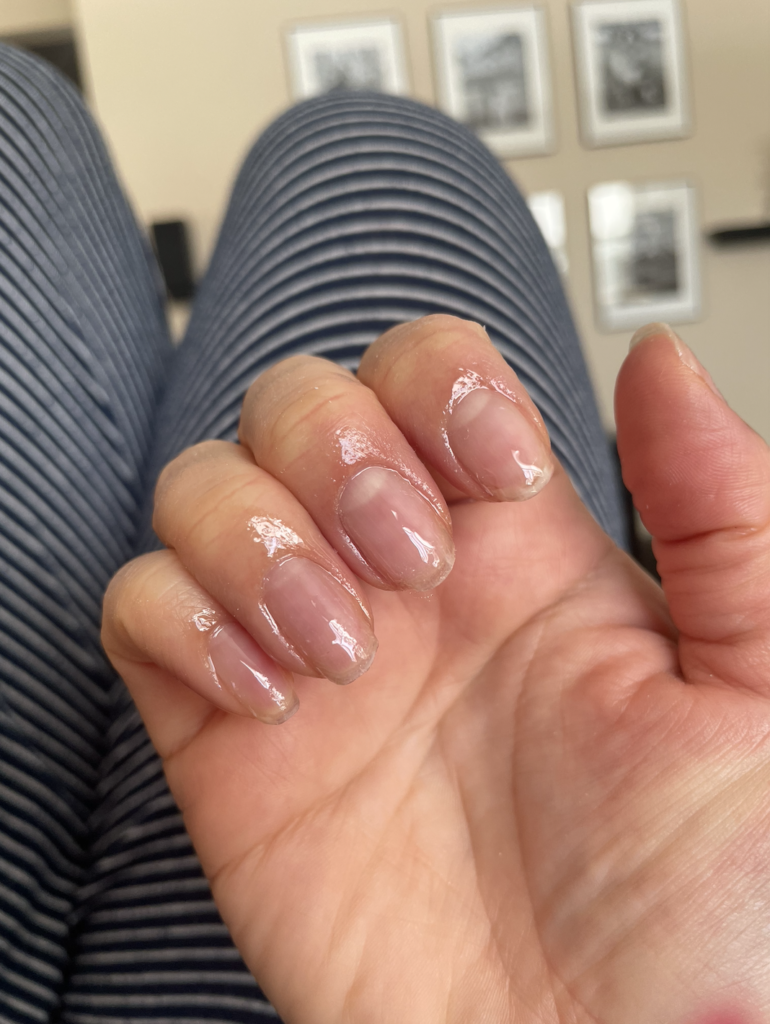
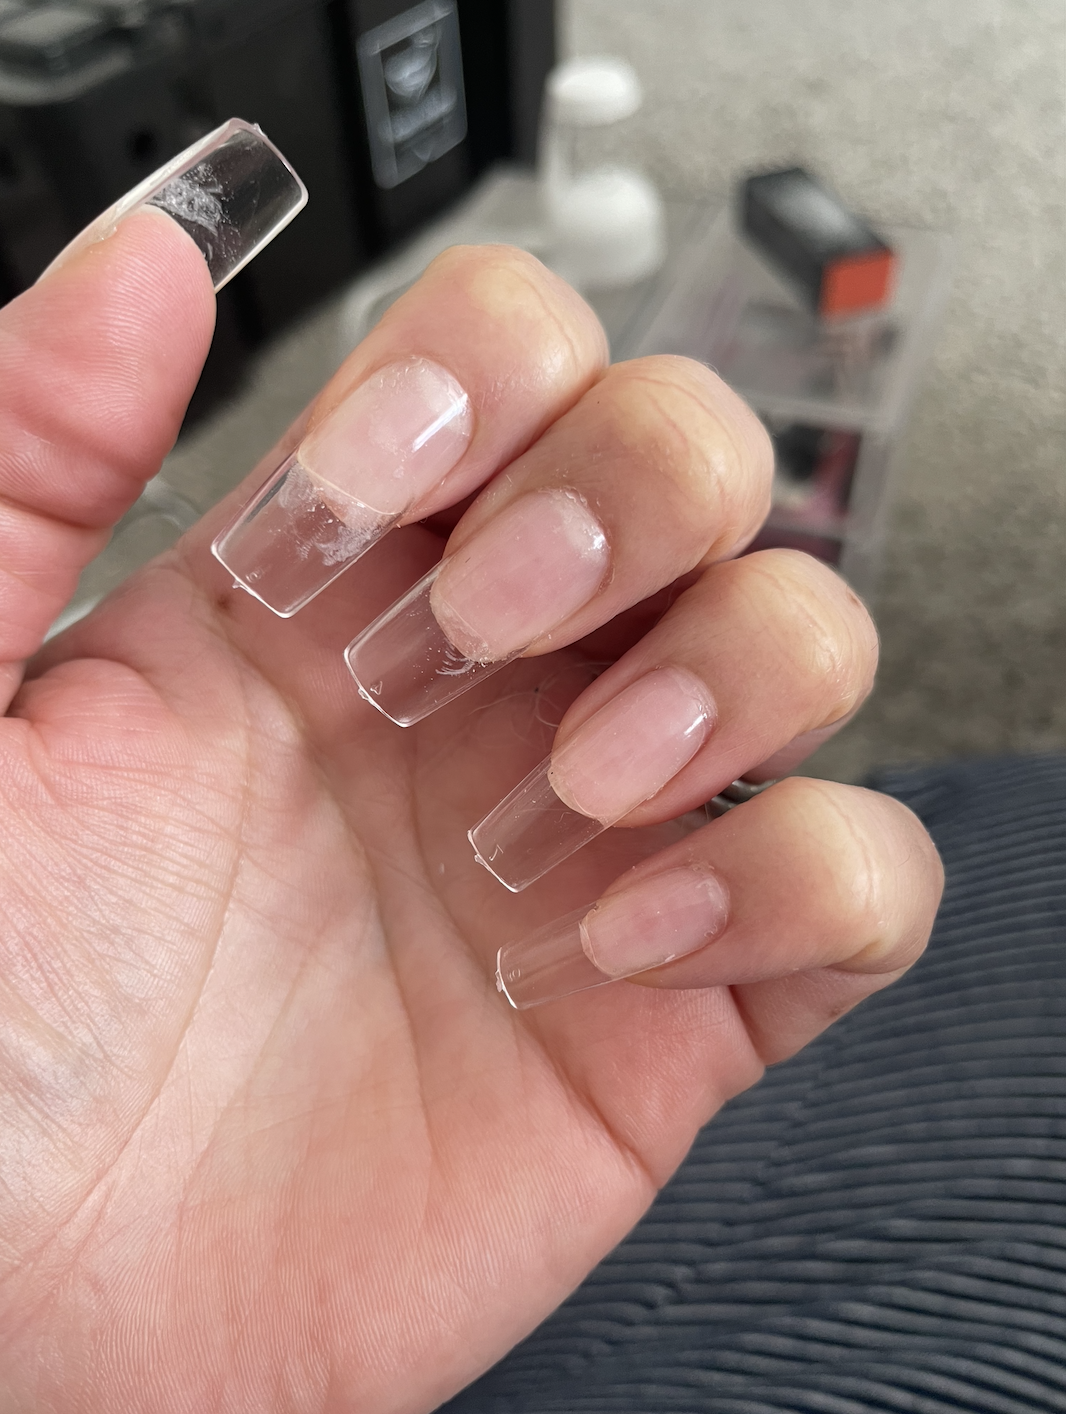
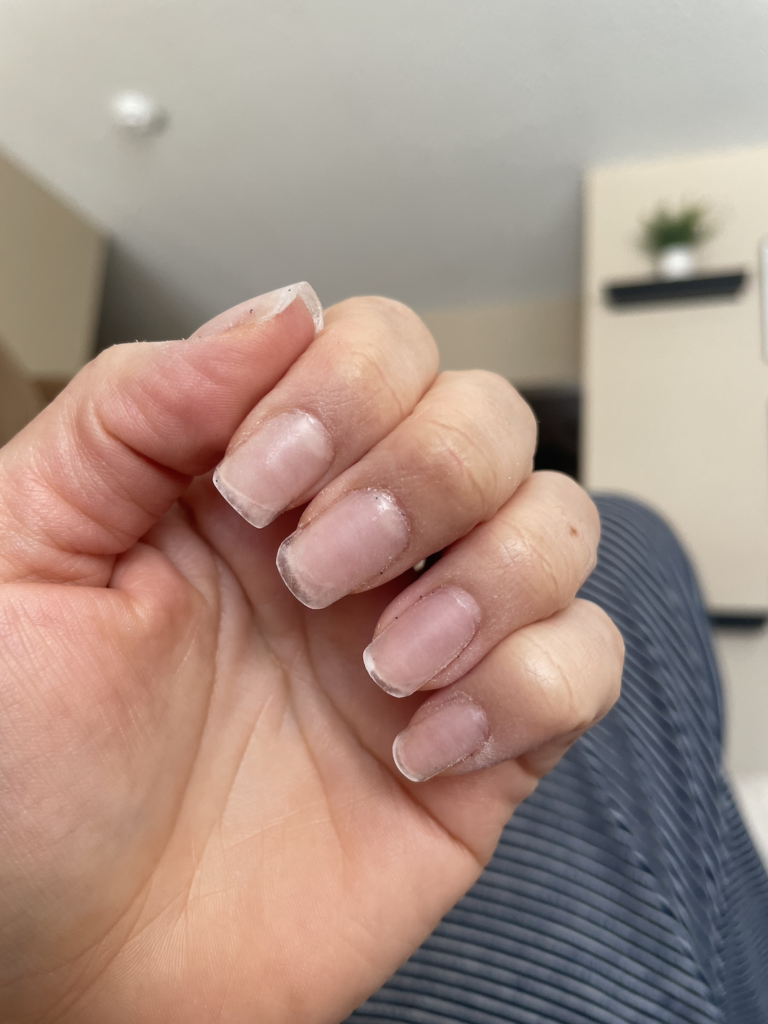

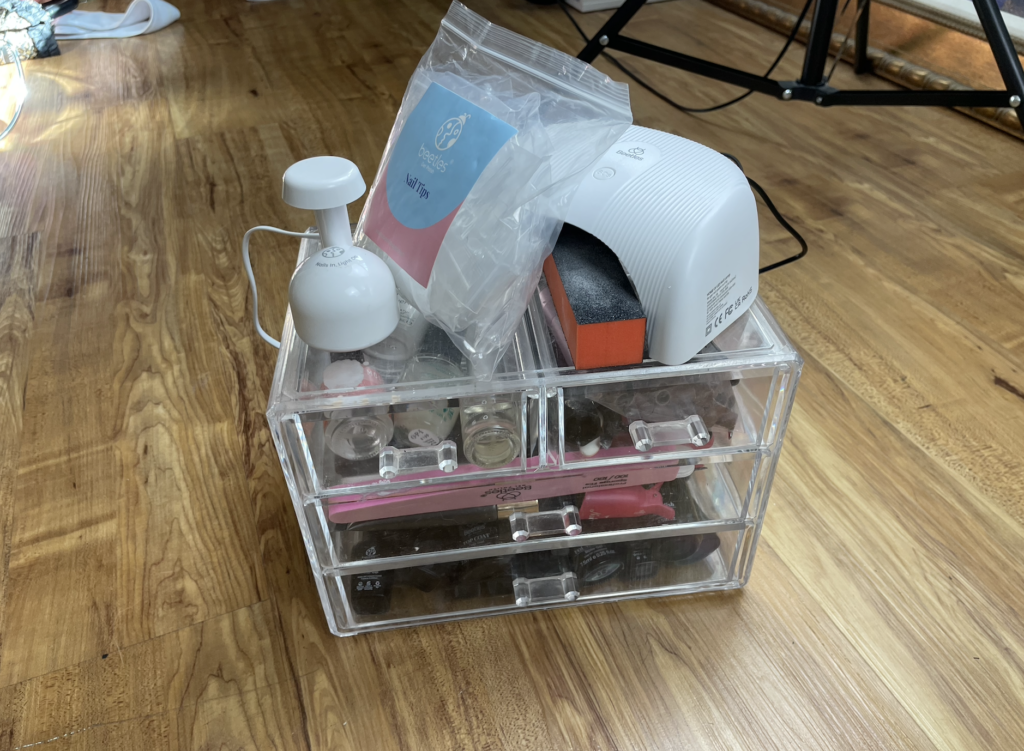
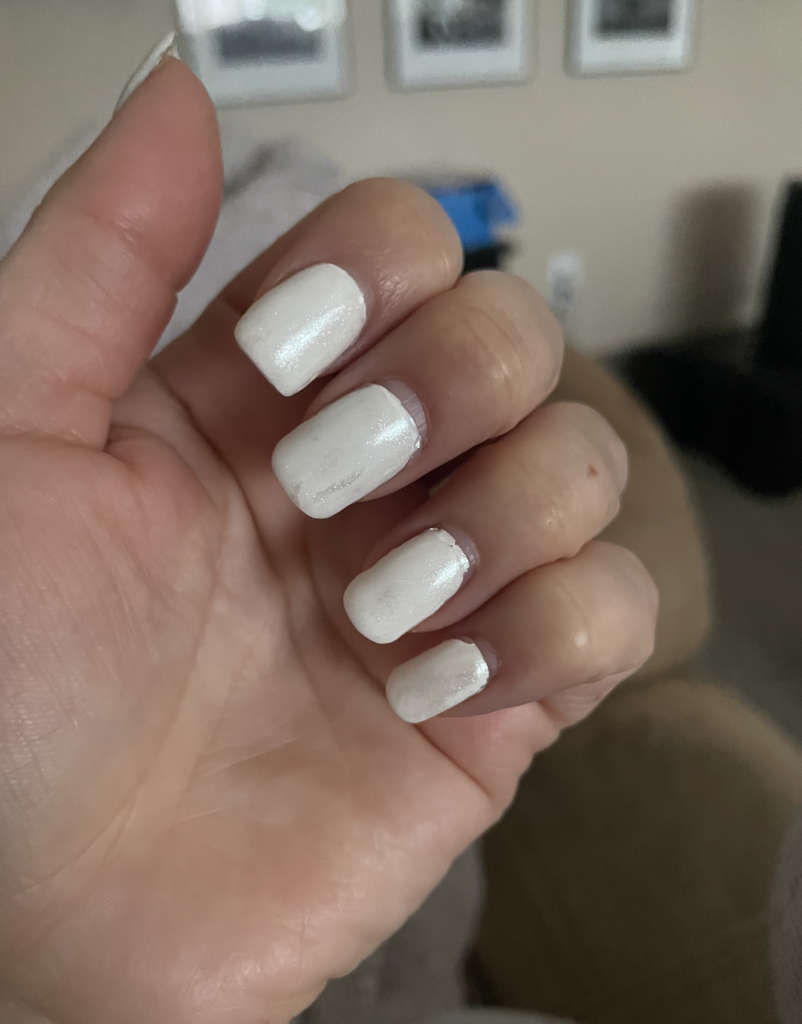
As you can see from the photos above, the process does get easier with each application. I’m slowly getting a little more precise each time. Practice makes perfect!
I mention some important tips to follow while applying the gel extensions and painting them – hear all about them in my video below!
The nail kit and supplies
Everything I used to build my nail kit can be found on my Amazon Storefront.
Watch my full video:
*Disclaimer: Some affiliate links may be used, which I may earn a small commission from (at no cost to you). As an Amazon Associate, I earn from qualifying purchases.
