Our Engagement Photos

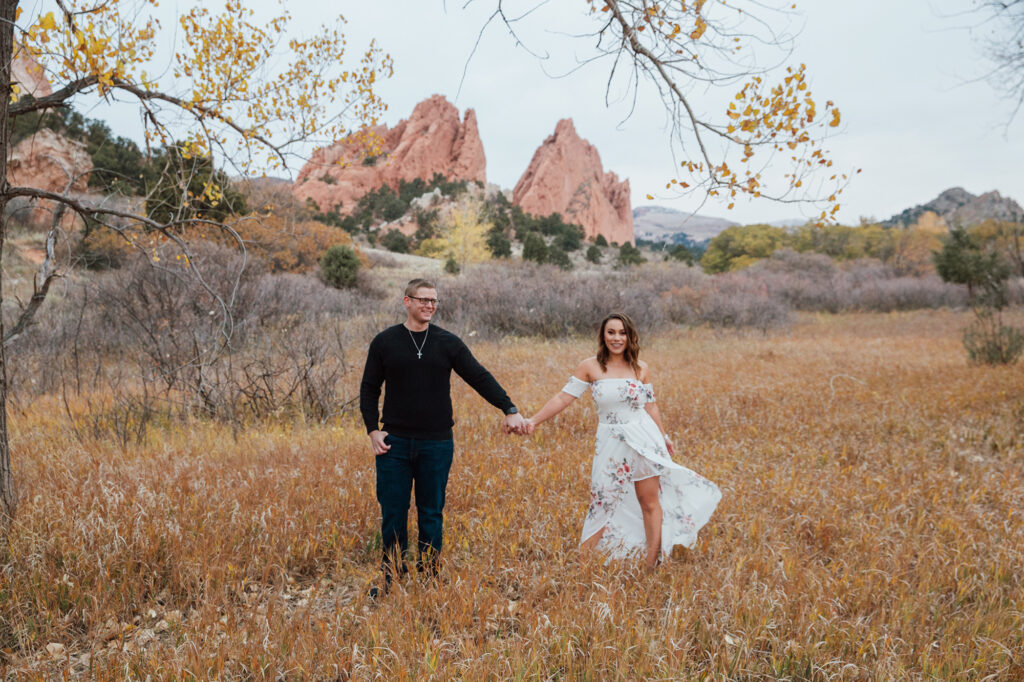
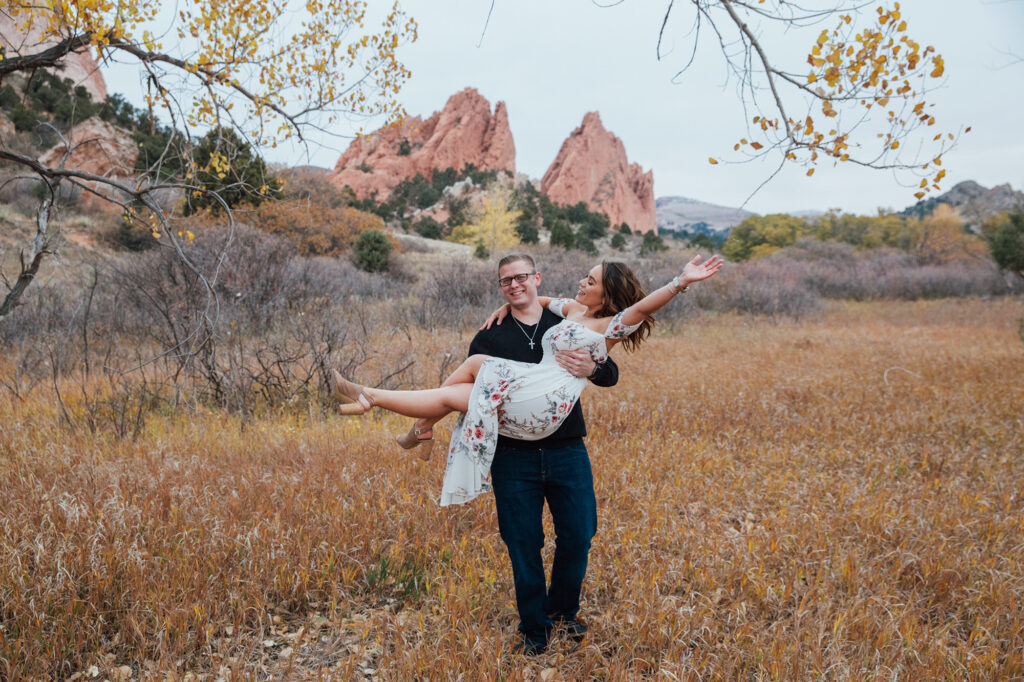
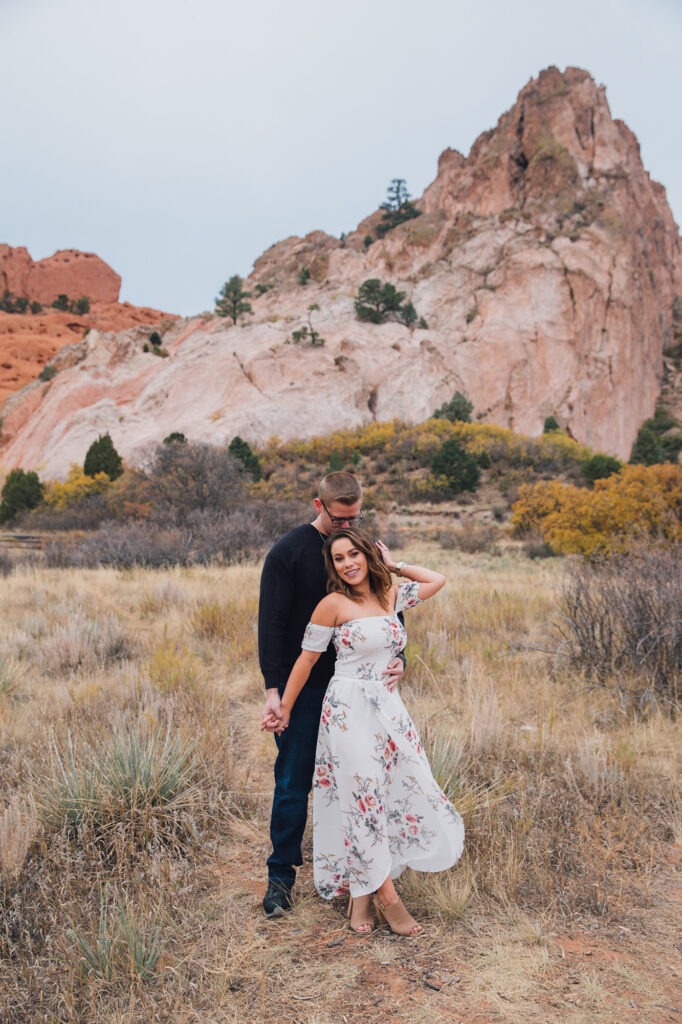
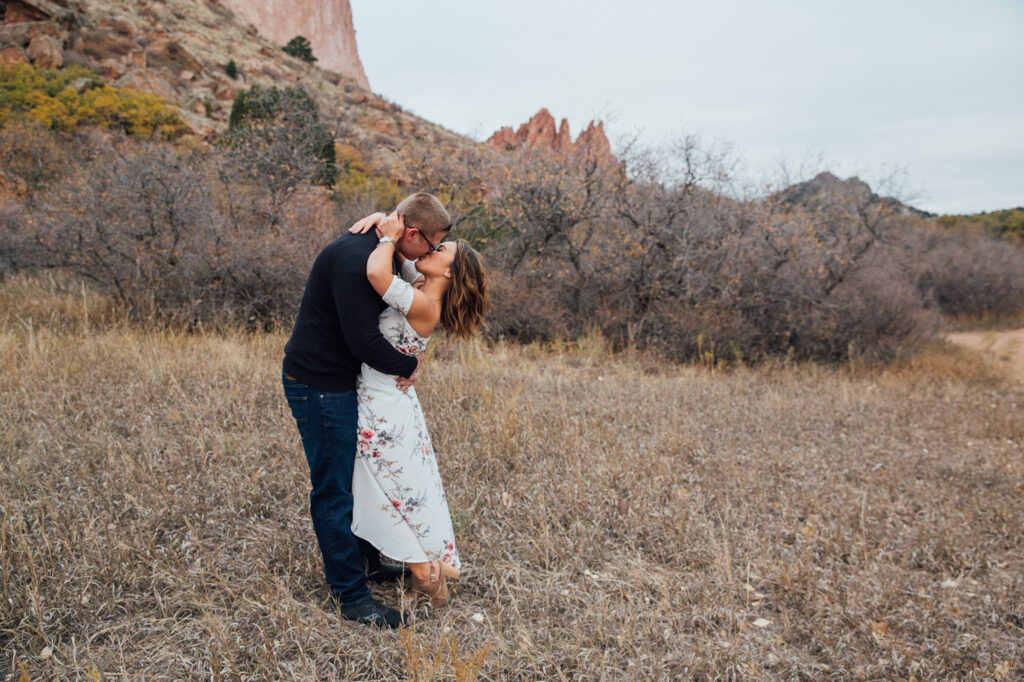
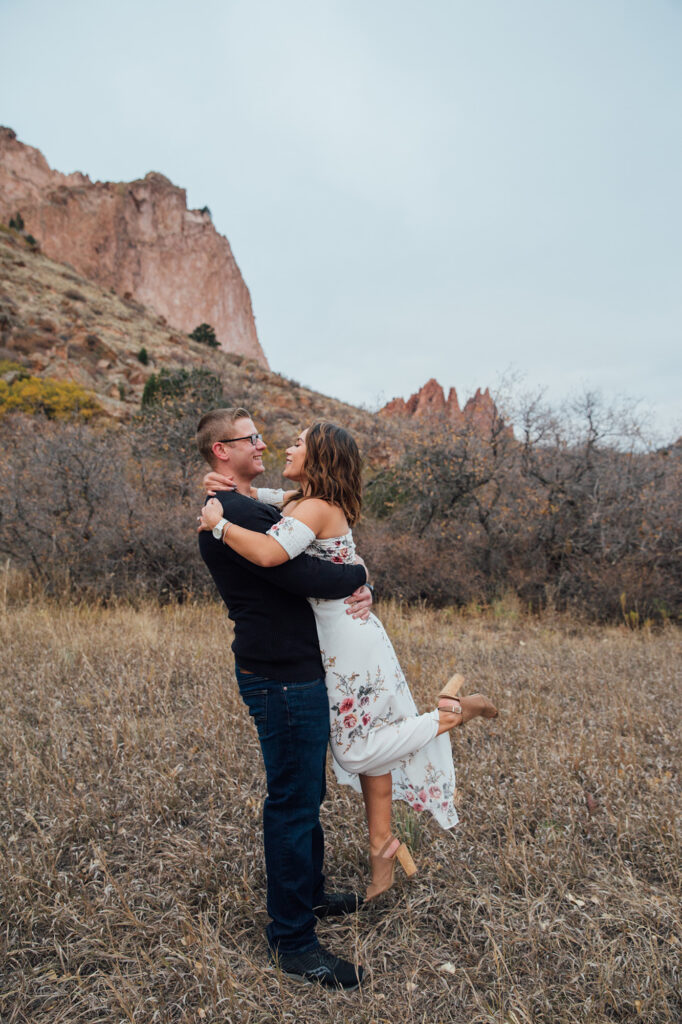
One of the last things we were able to do before our move to Montana, was our engagement photo shoot. For that, we used the gorgeous backdrop of Garden of the Gods – and I LOVE how each shot turned out!
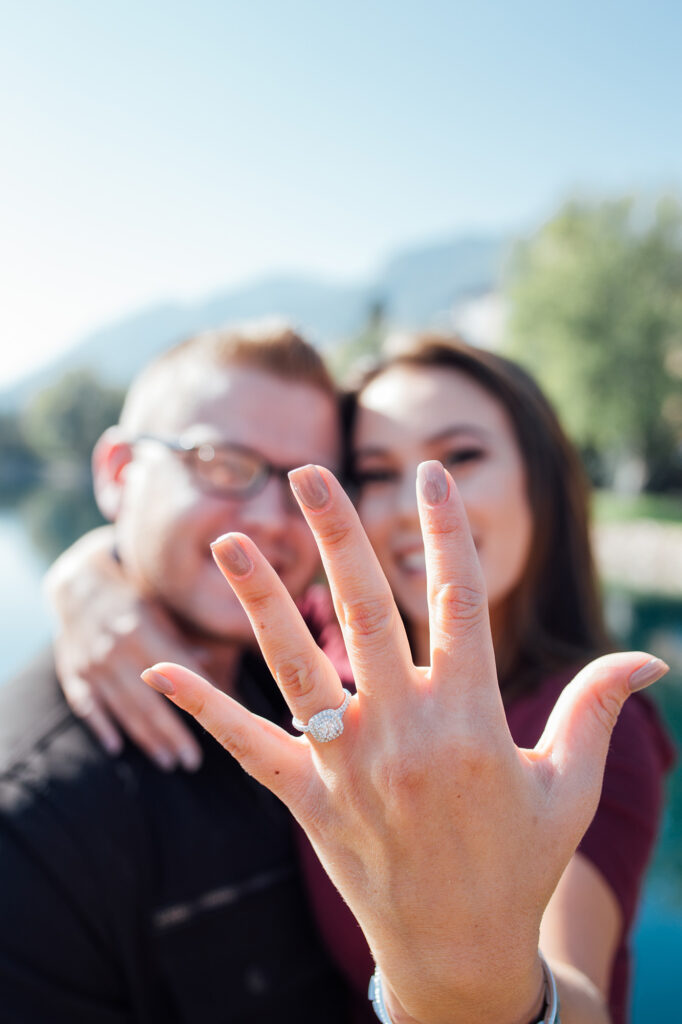
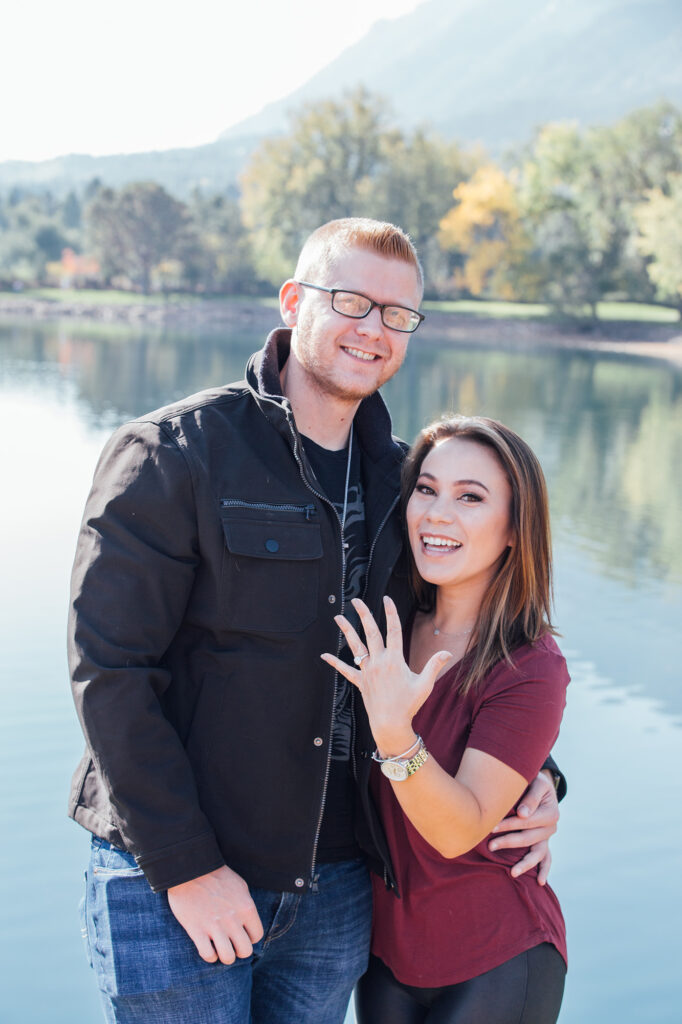
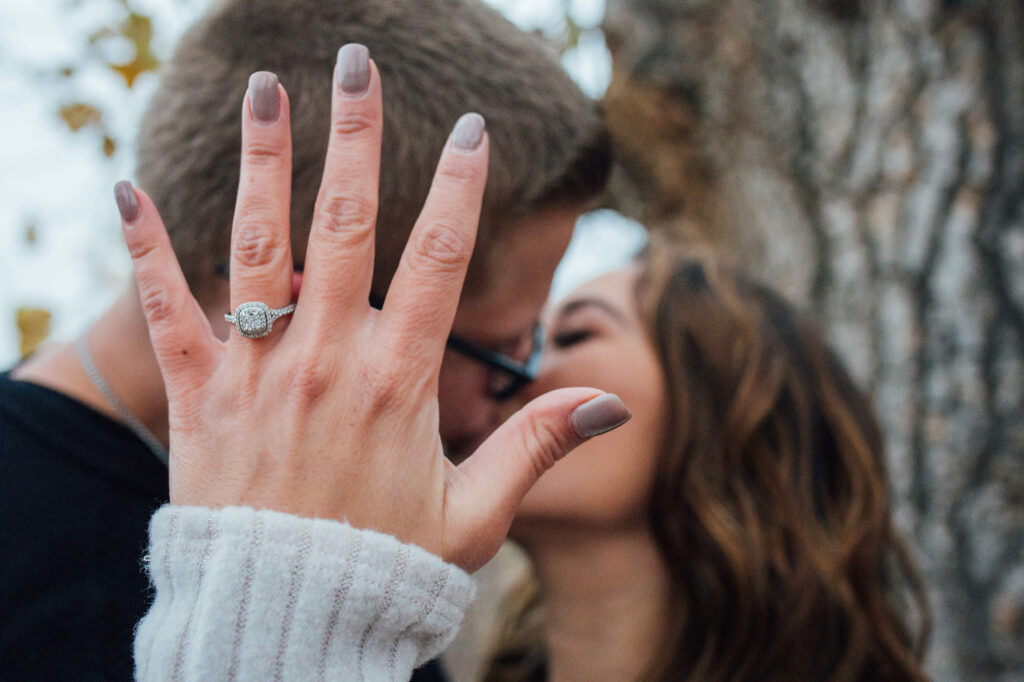
Our photographer, Mindy Miller, captured my vision for this shoot. I love her work and I’m so glad my fiancé chose her as our photographer! She also took our surprise proposal pics at the Broadmoor a few weeks earlier. I saw her before the proposal, but I always see photographers at the Broadmoor, so I didn’t think anything of it at the time!

I had two outfits planned for our engagement shoot. One dressy and one a little more casual, but still somewhat dressy.
For the dressy portion of the shoot, I wore a white, floral, flowy dress from Amazon. I got it in a size small and thought it was perfect for my shoot. It was the perfect length too! I paired with neutral-colored heels.
My second outfit was a sweater dress from Rosie Daze Boutique. It was freezing that day, around 30 degrees or so, I think. So, I made sure to wear my warmest outfit last. I got the dress in a size small and paired it with black knee-high boots. I love Rosie Daze Boutique and feel their outfits run true to size, it takes the guesswork out when trying to figure out your sizing!
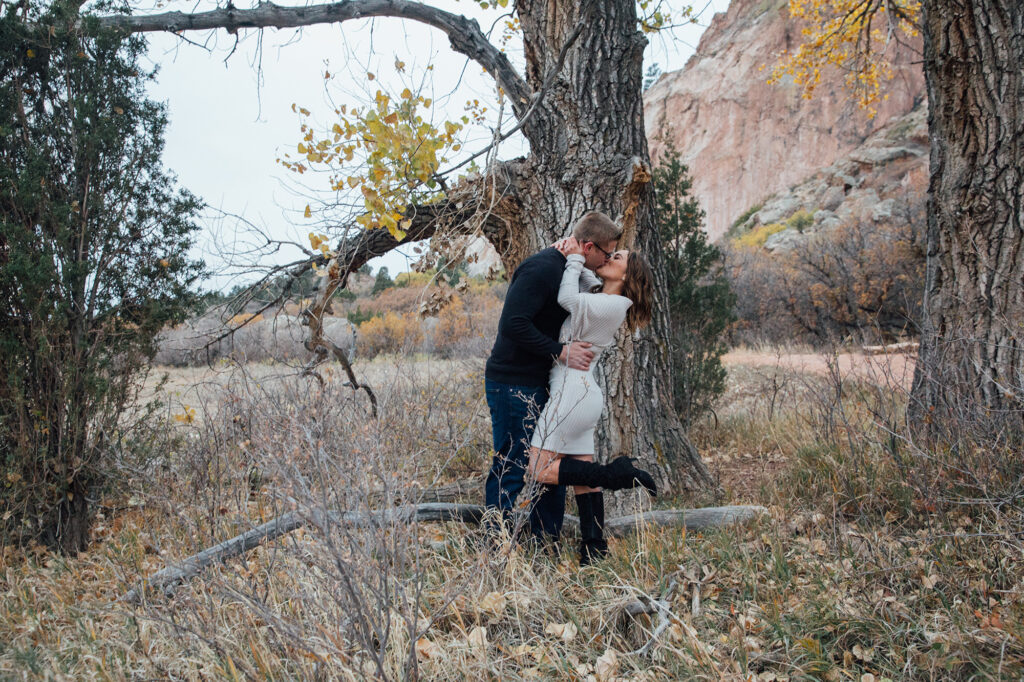
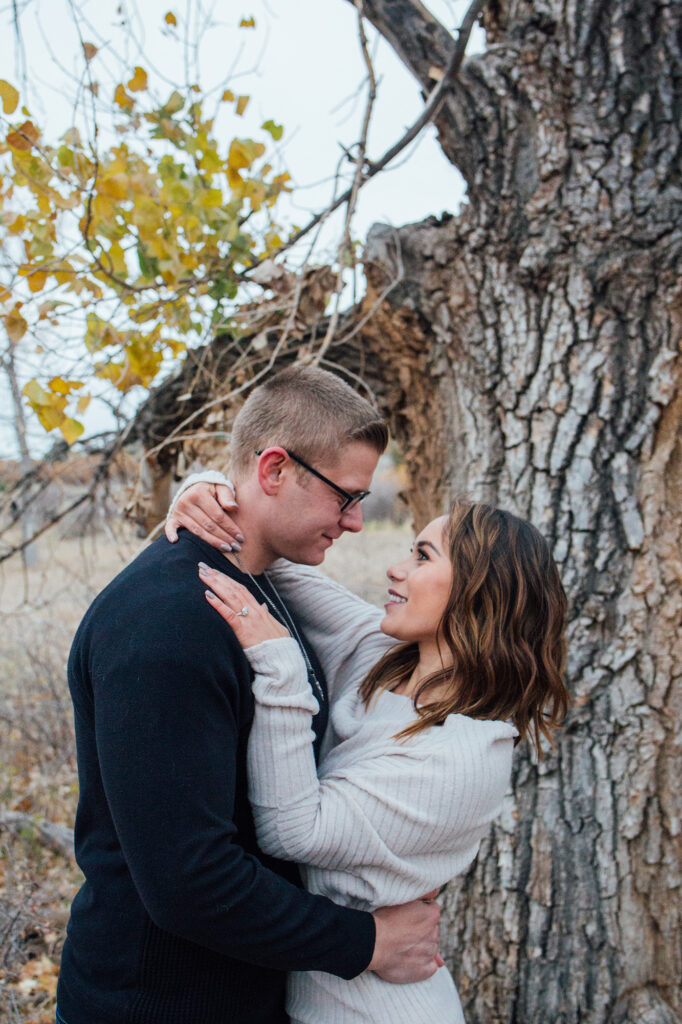
The black sweater my fiancé is wearing was actually supposed to be his second outfit, to match with my sweater dress. We had went shopping earlier that week to find him a dressy top to go with the first part of the shoot. However, he showed up in this sweater and a BLACK button-down.
And so, I will always remember this as the day he was supposed to wear a burgundy colored button-down.