Category: Beauty

Amazon Gel-X Nail Kit + Supplies | A Review

Painted nails are some of my favorite accessories to wear (nails can count as accessories, right?!). They can add a simple yet elegant touch to any look and of course, they can compliment any arm candy, from jewelry, rings, and watches!

I used to paint my nails ALL the time as a kid, and I continued to do so as a teenager and adult. Of course, I started with regular nail polish, tried acrylics once, moved to gel, and then really committed to dip powder – my favorite!

After years of getting dip powder on my nails (I was waiting on a proposal from my now-husband!), my nails have definitely taken a hit – they’re soft, brittle, and really don’t do well naked. Plus, the constant nail salon visit were also taking a hit on my wallet!

I started hearing about gel-x nails on Instagram and TikTok, and started doing some research on why it’s all the range and if it’s actually better on your nails.

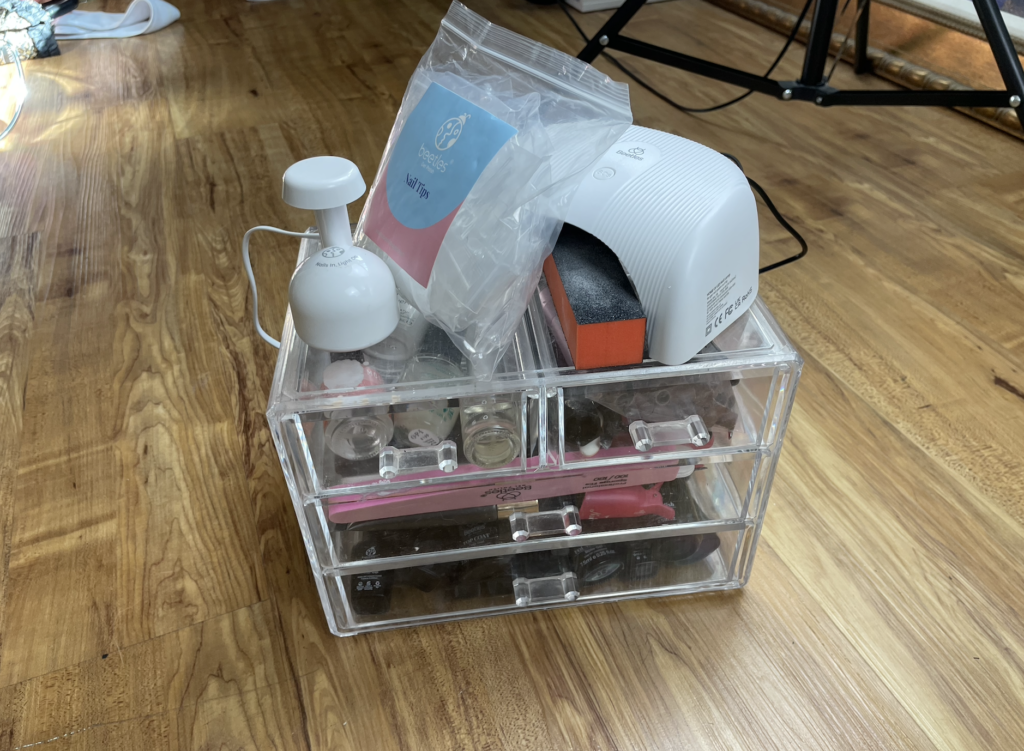
After reading up on the trend, I decided to get my own nail kit and start doing my nails at home. I’m not a nail expert, and I’m not even good at it – I would say I’m average at doing my nails! But I’m hoping this blog post can help someone out. I see a ton of videos of gel-x tutorials on TikTok, and they all look PERFECT. So, my tips are a mix of everything I’ve seen and read up on from TikTok, with some of my own techniques I picked up along the way. I also feel like my YouTube video explaining my kit and my process can be confusing, which is why I’m writing up a set of simple step-by-step instructions. Everything I purchased for my kit came from Amazon – I will link everything down below. I used an old acrylic drawer I originally stored my makeup in, but I linked a few similar options as well.

Gel-x nail steps

1. Clear and clean nails from all polish.

2. Apply the daily nail keratin treatment – soak it in for a few min and massage it in.

3. Find the best-fitting gel extension for each nail and set aside. Buff each extension if not pre-buffed.

4. Apply the nail dehydrator on each nail (I like to fully prep one hand at a time before painting).

5. Apply a thin layer of nail glue over each and cure with full nail lamp.

6. Apply nail glue on gel extension, place on your nail (not flat down, but at an angle starting at the cuticle), and flash cure. Fully cure with larger nail lamp once all gel extensions are on.

7. Trim your nails with the gel-extension trimmer to the length you want and file edges down. Buff all nails after. This will help the gel polish adhere to the gel extensions.

8. Begin painting nails with gel polish and cure with larger nail lamp. I typically do two coats.

9. Apply gel top coat, cure, and you’re done! Unless you want to add the chrome effect – use the sponge that comes with the chrome powder kit, and apply another top coat, and cure.

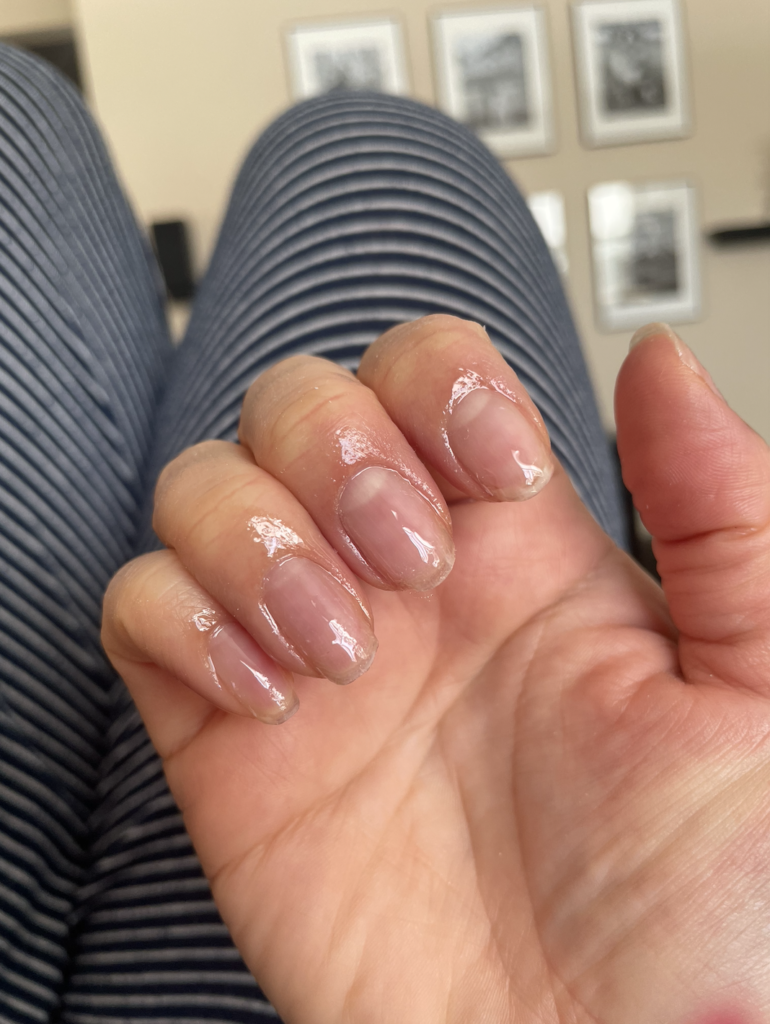
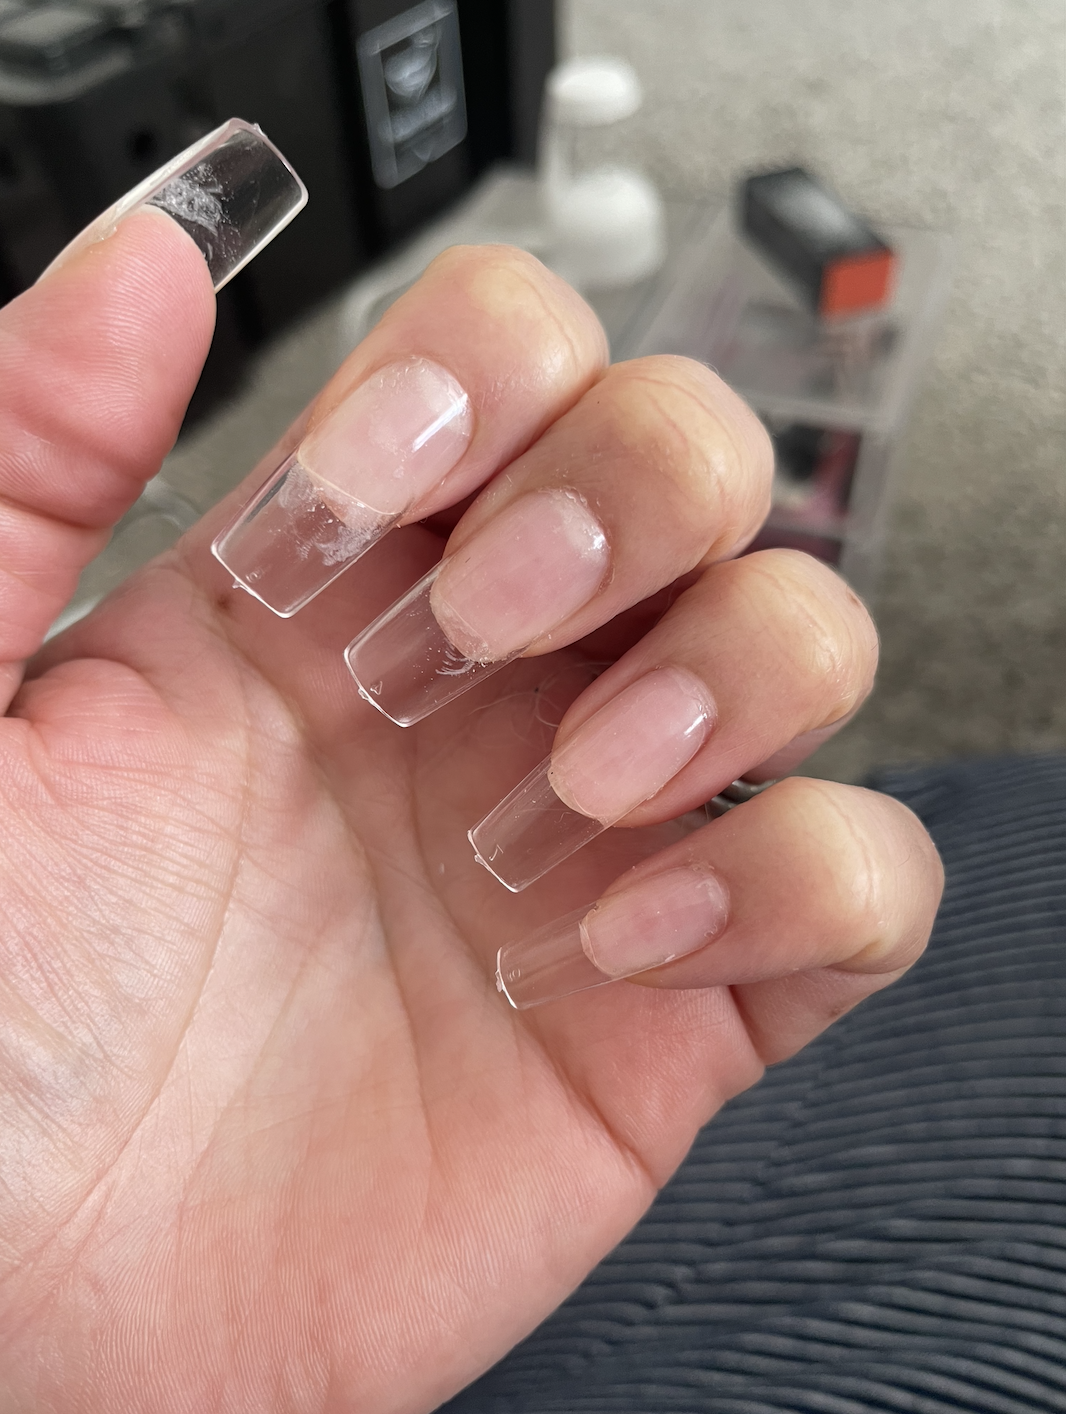
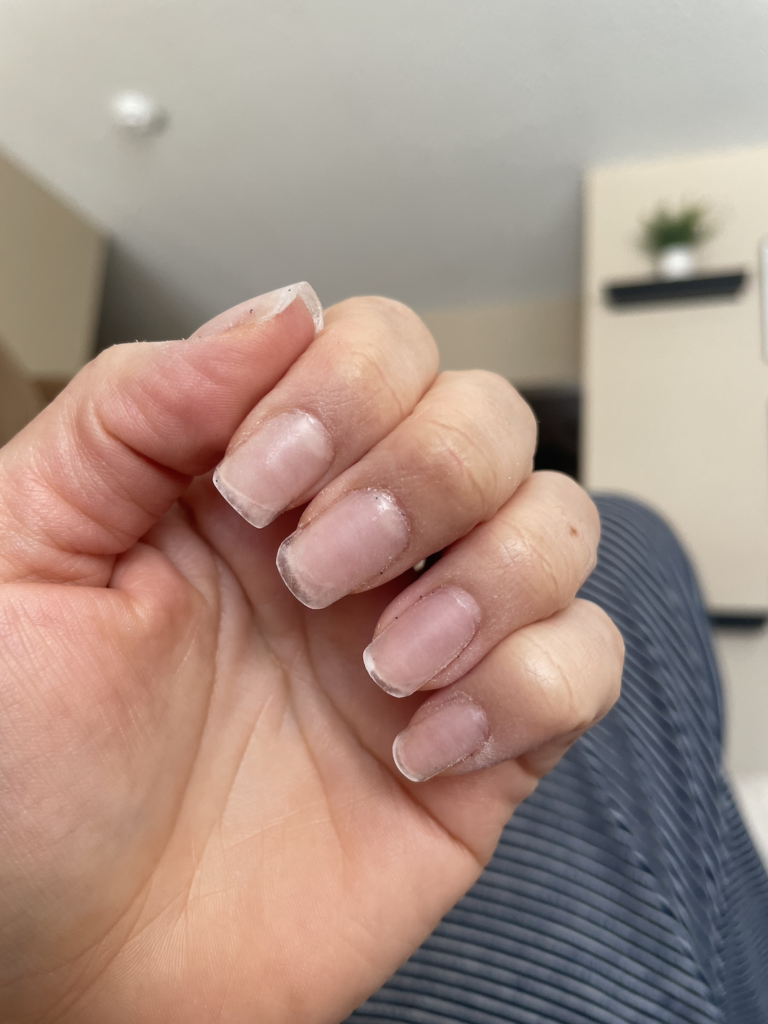
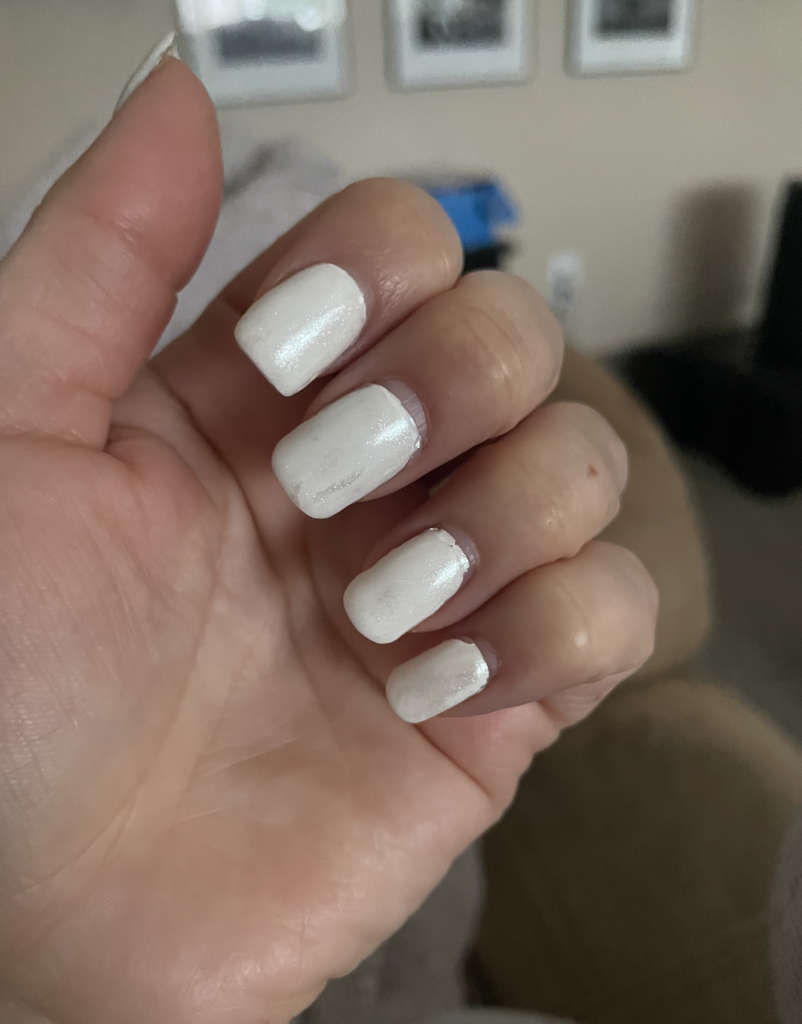
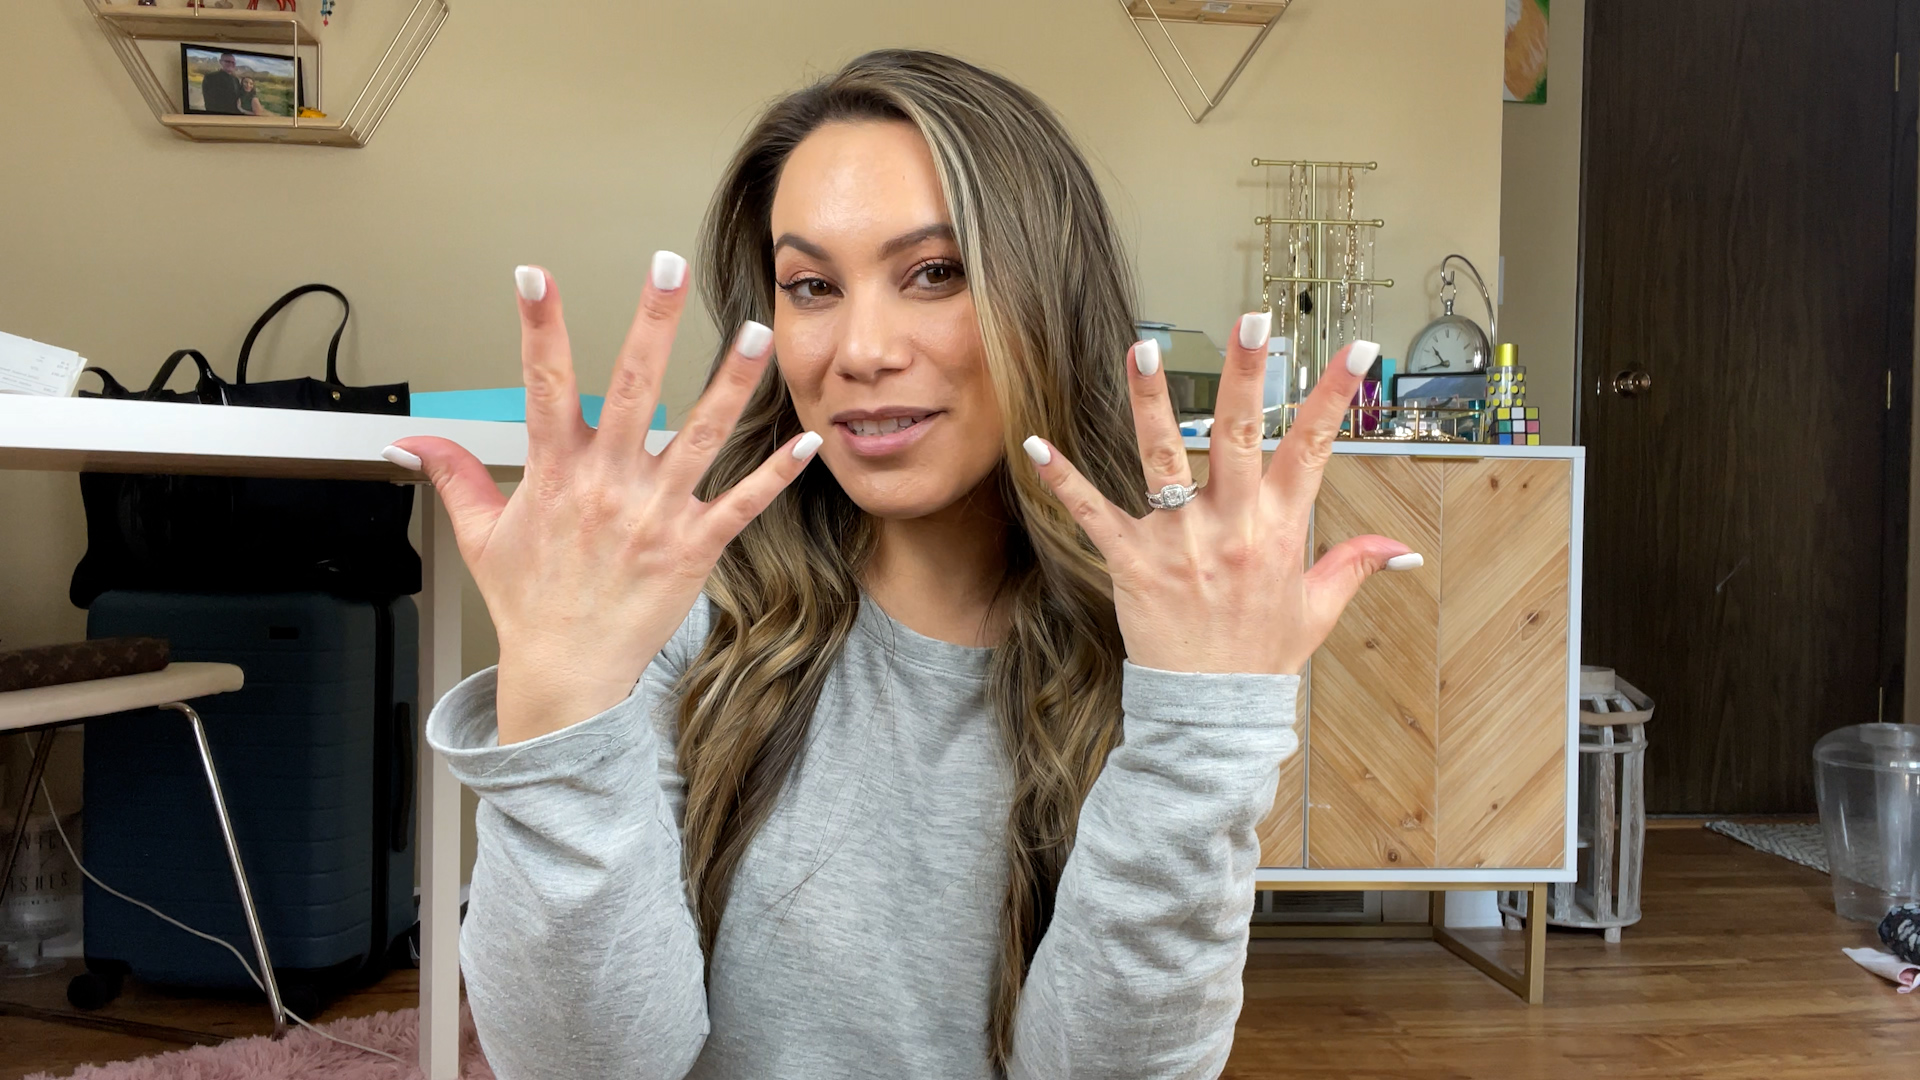
As you can see from the photos above, the process does get easier with each application. I’m slowly getting a little more precise each time. Practice makes perfect!

I mention some important tips to follow while applying the gel extensions and painting them – hear all about them in my video below!

The nail kit and supplies

Everything I used to build my nail kit can be found on my Amazon Storefront.

Watch my full video:

*Disclaimer: Some affiliate links may be used, which I may earn a small commission from (at no cost to you). As an Amazon Associate, I earn from qualifying purchases.

Beachwaver Review

Have you tried the Beachwaver yet? I wasn’t sold on it until one of my best friends got one, and said I would really like it – so of course, I bought one at her recommendation.

I got the holiday edition b1 Beachwaver (which is no longer available, but here’s a Pink Sunset version), and have been testing out all three heat settings ever since. Turns out, I prefer the curls from the low heat setting.

One thing I didn’t realize at first is that Beachwaver actually has curling irons of ALL different sizes (my friend didn’t realize this either) – had I known this, I would have initially gone with a bigger size since I prefer bigger and looser waves.

Regardless, the Beachwaver does a great job of curling your hair in the back, which can be challenging to reach sometimes!

One common question I get on my TikToks featuring the Beachwaver was, “how does it compare to the Chi Spin N Curl?” I actually have a YouTube video comparing the two here!

Beachwaver also has some great products, including the Stay Strong Reparative Kit, which I mention in my video below, as well as a Braid Balm (this is amazing btw!) and Volumizing Mousse.

I’m also happy to share that I have a discount code for you to use and save on ANY Beachwaver product! Use code: CHRISTINADWAVE at checkout for 10% off!

Watch my full review:

Let me know your thoughts on the Beachwaver!

*Disclaimer: Some affiliate links may be used, which I may earn a small commission from (at no cost to you). As an Amazon Associate, I earn from qualifying purchases.

LTK Spring Sale

Better late than never, right!? I was in the middle of traveling to Bozeman right after work when the LIKEtoKNOWIT Spring Sale kicked off, and I just made it back home yesterday night. For those of you still wanting to shop the sale, I’m making a note of the brands I think you should still look at!

First, here are all the brands participating in the sale, which ends tomorrow – so you still have time! As per usual with LTK sales, you need to shop in the app in order to get the discount code. Follow me on LTK to get the codes!

I’m not looking to do any major shopping during this sale, but if I were, I’d take a closer look at Abercrombie, Aerie, and Stanley.

I don’t have any collages prepped, but I figured it’s better to let you all know about the sale than to waste time creating these collages late in the sale. Happy Shopping! <3

*Disclaimer: Some affiliate links may be used, which I may earn a small commission from (at no cost to you). As an Amazon Associate, I earn from qualifying purchases.

Beachwaver Vs. Chi Spin N Curl

A question I received on one of my hair TikToks was how the Chi Spin N Curl is different from the Beachwaver. At the time, I wasn’t sure, but after getting the Beachwaver, I feel they’re very similar!

There are a few minor differences, but I feel like you can see the major difference in the second-day hair. I find this comparison really important because I am someone who will sometimes style my hair the night before, in order to have my hair half ready by the time I get up in the morning – it’s a huge time saver!

I have the B1 Beachwaver. Use code: CHRISTINADWAVE to save!

You can get the Chi Spin N Curl off Amazon.

Watch my full review to see the difference:

Shop the rest of my hair tools on my Amazon Storefront.

*Disclaimer: Some affiliate links may be used, which I may earn a small commission from (at no cost to you). As an Amazon Associate, I earn from qualifying purchases.

My Top 5 Hair Tools

I previously shared my top five hair tools in one of my monthly newsletters, but I thought it would be a good idea to have it live permanently on my blog! This list of hair tools includes some that I’ve been using for years, and others that are fairly new to me. So, here are my top five must-have hair tools:

  1. 1 – 1.5 inch – I think this is best for touseled waves – This is by far my favorite curling wand! This gives you the prettiest tousled look – so effortless, yet perfect.
  2. 1 ½ Inch – I’ve had a curling wand in this size for years and forgot about it until I started those hair TikToks. I think it gives you pretty soft waves!
  3. 2-inch – A two-inch curling iron is the perfect way to get a blowout look. I always have a hard time giving myself a real blowout, so why not take the easy route with this? 
  4. Chi Spin N Curl – The Chi Spin N Curl is one I like to use before bed. It gives you tight curls, but they turn into loose waves overnight. So, your hair is already done when you wake up!
  5. NuMe Set- This 5-in-1 set is so useful and gives you a variety of options for hairstyles. My favorite size out of these is the 25mm wand. I love it for relaxed loose waves. The rest of the set includes a 19mm, 32mm, a pearl barrel, and a 25mm cone.

Want to see these hair tools in action?

I’ve shared how I use them all on my TikTok – check it out! I’m also in the process of shooting full hair tutorials for my YouTube channel.

I’ve also been doing some comparison videos like this:

@christinaonair 2 inch curling iron vs. a blowout brush #blowoututorial #blowoutbrushhair #2inchcurlingwand #2inchcurlingiron #wavyhairtips #wavyhairtutorial ♬ Electric Feel – TEEMID

Don’t forget about haircare when using these hot tools! Check out my blog post on my favorite hair products!

Shop the rest of my hair tools on my Amazon Storefront.

*Disclaimer: Some affiliate links may be used, which I may earn a small commission from (at no cost to you). As an Amazon Associate, I earn from qualifying purchases.

My Favorite Hair Products

Styling my hair is something I’ve been doing since I was a little girl. I always enjoyed braiding my hair before bed and waking up with wavy hair for the rest of the day. As I got older, I started using hair crimpers (90’s babies, remember those?!), and then I moved on to heatless rollers, curling irons, hot rollers, etc. – the rest is history!

The point is, I genuinely enjoy testing out hair tools, which means I need to ensure I’m taking care of my hair in between all the styling sessions I give myself. So, I decided to put together an updated list of all my hair must-haves when it comes to styling and caring/protecting my hair.

Hair Care

When it comes to haircare, I keep it pretty simple. My hair washes are pretty frequent (nearly every day unless I’ve curled my hair and want it to last a few days), and I don’t use too many products apart from dry shampoo in between washes. In fact, my shampoo and conditioner is pretty simple too – I use Dove! However, when I do color my hair, I stick to Redken shampoo for color-treated hair. I also get regular haircuts to avoid getting split ends. I typically go in every nine to 10 weeks. Here are the items I use the most for haircare:

  • Deep Condition – My favorite deep conditioner is this Macadamia Natural Oil Deep Repair Mask. Not only does it smells great, it really makes a difference in my hair – it’s so much softer after I use it. I don’t have a specific time of how long I leave it in my hair for, but I always try to put it in my hair at the beginning of my shower. I use it about once every two weeks or more frequently if I’ve been using hot tools more often that week.
  • Leave-In Conditioner – A leave-in conditioner is something I always experimented with and can’t seem to stick with just one brand. However, the one I’ve been using lately is the Healthy Sexy Hair So You Want It All Leave-In Treatment. It smells amazing and really conditions your hair. While it is meant to be used on wet/damp hair, I also like how it defines my second-day curls. It really livens them up again without weighing your hair down.
  • Wet Brush – I’m very picky about hair brushes, and I was really surprised with the difference I felt using the Wet Brush for the first time. It’s been years since, and I have no plans to switch to a different hair brush anytime soon. this brush really makes brushing wet hair easier and painless.

When I feel like my hair needs some extra love, I use this serum at the ends of my hair. It’s easy to overdo it and give yourself a greasy hair look, so use a very small amount!

Hair Styling

My hair is naturally pin-straight, so it lacks volume. This is why it’s important for me to try and get as much volume as I can any time I style my hair. But with that, it’s even more important for me to protect my hair whenever I’m using a hot tool. Since I had to do my hair a lot when I worked in TV as a news reporter, I learned what works and what doesn’t work on my hair. Here’s a list of my most-used (for years) hairstyling products:

  • Dry Shampoo – I have found two different dry shampoos that work best on my hair: Billie Floof dry shampoo and Batiste. Both do what they’re meant to and soak up oils, but I have found that they work even better together. For max volume, I will sprinkle in Billie’s dry shampoo (I get the one for brunettes) first, and then add in a few sprays of Batiste’s dry shampoo, but I do NOT massage it in. I do all this the night before and wake up with amazing volume. This is how I prepped my hair for TV if I was going to be in the studio hosting one of our shows.
  • Heat Protectant Spray – This is an absolute MUST if you plan on using a hot tool on your hair. I didn’t start using a heat protectant spray until after college. In fact, I don’t think I even knew it was a thing back then. I just know that when I did start using a heat protectant spray, I noticed a difference immediately. My ends weren’t as fried and my hair didn’t smell like it was burning whenever I used a hot tool. My favorite one is the Chi Iron Guard Spray. I’ve been using it for years and it has never done me wrong.
  • Hairspray – I used to go through hairspray so quickly when I worked in TV, but now I can’t seem to get through one can! I’ve tried several different brands, but I always go back to TRESemmé Hair Spray Extra Hold. It smells nice and actually holds style – also it doesn’t make your hair crunchy!
  • Smoothing Sealant – This isn’t a product I used when I worked in TV, but I wish I had known about it then! I recently got a sample of Drybar’s Liquid Glass Miracle Smoothing Sealant and I was blown away by how well it works. I also tried a different brand of smoothing sealant, but it didn’t work as well. Liquid Glass really smooths your hair down, grabbing all those baby hairs and making your hair look like it’s straight out of a TV commercial. I noticed the biggest difference after blow-drying my hair and seeing close to zero baby hairs sticking up. Usually, it’s the complete opposite and my baby hairs get very frizzy after blow-drying. Another plus to Liquid Glass is the amazing shine you get. This is definitely staying on my must-have hair styling list.


I hope you found my list helpful! Let me know if there are any hair products you’d like for me to test out!

-Shop the Post-


*Disclaimer: Some affiliate links may be used, which I may earn a small commission from (at no cost to you). As an Amazon Associate, I earn from qualifying purchases.

My latest videos